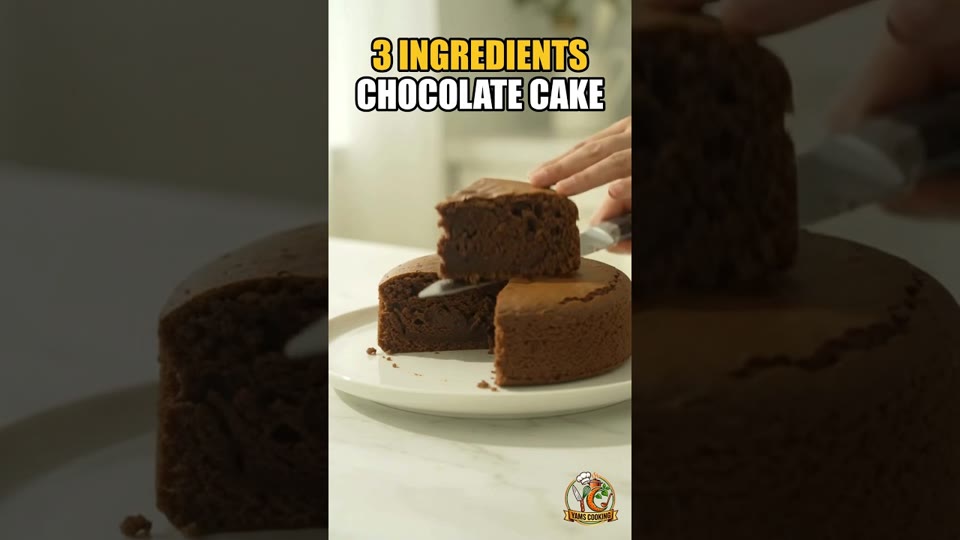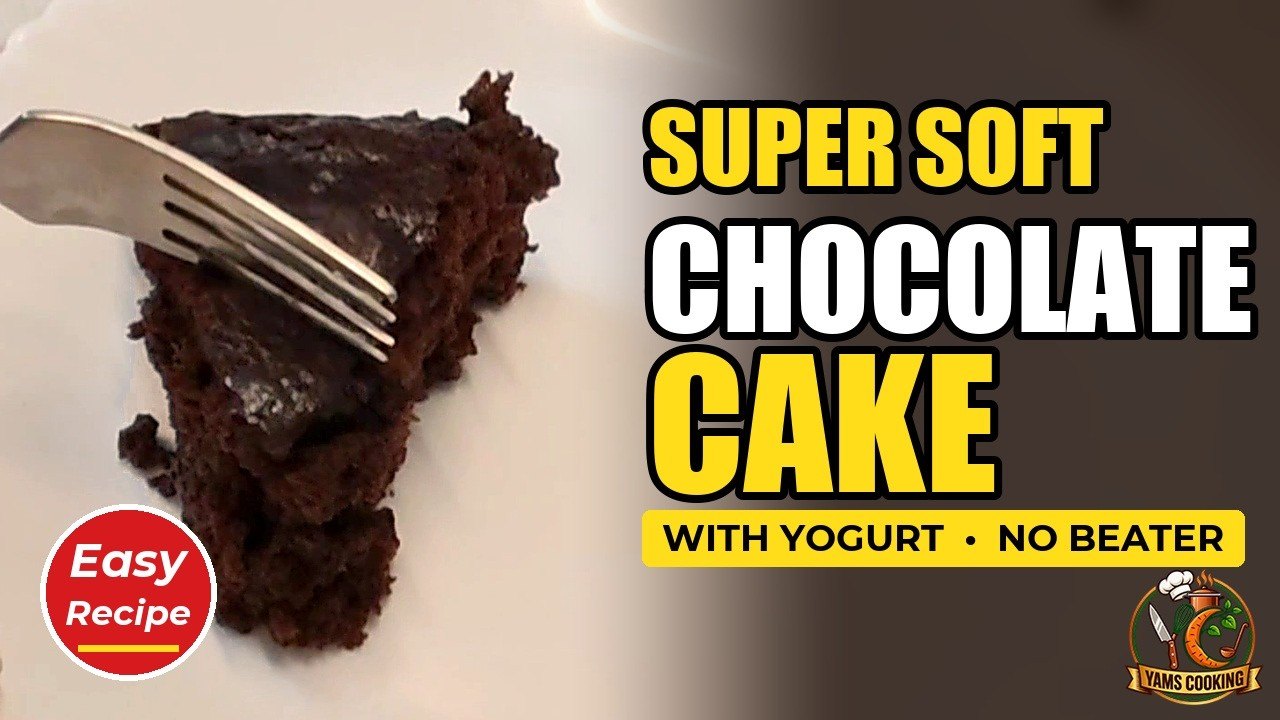
Soft Chocolate Cake With Yogurt
No beater · no electric mixer · one bowl
Most chocolate cake recipes open by creaming butter and sugar, and that is the step that needs an electric beater. This one skips it. Oil and yogurt are both soft already, so a hand whisk is enough — and the acid in the yogurt reacts with the baking soda for extra lift while keeping the crumb tender. Everything goes into one bowl, and the warm water at the end is what takes the batter from thick to pourable.
Ingredients
- 1 cup (120 g) all-purpose flour
- ½ cup (40–45 g) unsweetened cocoa powder
- ½ cup + 2 tbsp (125 g) sugar
- 1 tsp baking powder
- ½ tsp baking soda
- ¼ tsp salt
- 1 large egg
- ½ cup (120 g) plain yogurt
- ¼ cup (60 ml) neutral oil
- 1 tsp vanilla essence
- About ¼ cup warm water
- Chopped dark chocolate for the top — optional
Nutrition is an estimate per serving.
Method
- Heat the oven to 180 °C / 350 °F about five minutes before the cake goes in. Grease a 6-inch deep pan and line the base with baking paper.
- Sift the flour and cocoa together. Cocoa clumps in the bag, and the lumps will not whisk out later.
- Whisk in the rest of the dry: sugar, baking powder, baking soda and salt, until the mix is one even colour.
- Add the wet: the egg, yogurt, oil and vanilla. Mix gently, only until everything comes together.
- Loosen with warm water — about ¼ cup, a little at a time, until the batter runs off the whisk in a ribbon.
- Pour into the pan and tap it twice on the counter to settle the batter.
- Scatter the chopped chocolate over the top if you are using it. It melts into the surface as it bakes.
- Bake 25–30 minutes on medium to low heat. Start checking at 25 — a skewer through the middle should come out clean.
- Cool in the pan for 10–15 minutes before turning it out, or it will break.
Watch it made
Notes on this recipe
What the yogurt is actually doing
Three things at once. Its fat coats the flour proteins so less gluten forms, which is what keeps the crumb tender rather than chewy. Its water hydrates the cocoa and the flour. And its acid reacts with the baking soda, giving a second lift on top of the baking powder. That acid is also why the cake is still soft on day three: an acidic batter sets at a slightly lower temperature, so the crumb holds on to more of its moisture on the way out of the oven.
Why no beater is needed
Creaming butter and sugar exists for one reason — to beat air into a solid fat — and that takes a machine. This recipe uses oil, which is liquid already, so there is no air to beat in and nothing for a beater to do. The lift comes from the baking powder and the soda instead. A hand whisk is not a compromise here, it is the right tool, and working the batter with a machine would only build gluten and toughen the crumb.
Sift the cocoa, every time
Cocoa powder is fine and slightly fatty, so it packs itself into small dry lumps in the bag. Those lumps do not break up once the batter is wet — whisking just rolls them around, and they finish as bitter dry pockets in the slice. Sifting takes about thirty seconds and is the step most often skipped.
Warm water, and why it goes in last
The batter is deliberately thick before the water goes in. Adding it at the end, a little at a time, is how you land on the right consistency whatever your flour and cocoa happen to absorb on the day. Warm rather than cold also helps the cocoa give up more of its flavour. Stop when the batter falls off the whisk in a ribbon rather than a blob.
If it sinks, or comes out dry
A dip in the middle usually means the oven door was opened early or the batter was over-mixed, and the shape of the dip tells you which it was. Dryness is nearly always a few extra minutes in the oven rather than anything wrong with the recipe, which is why the check starts at 25. Wrapped once it is properly cool, it keeps three days at room temperature.